Module functions
This section describes the individual functions of the map portal:
Sketching
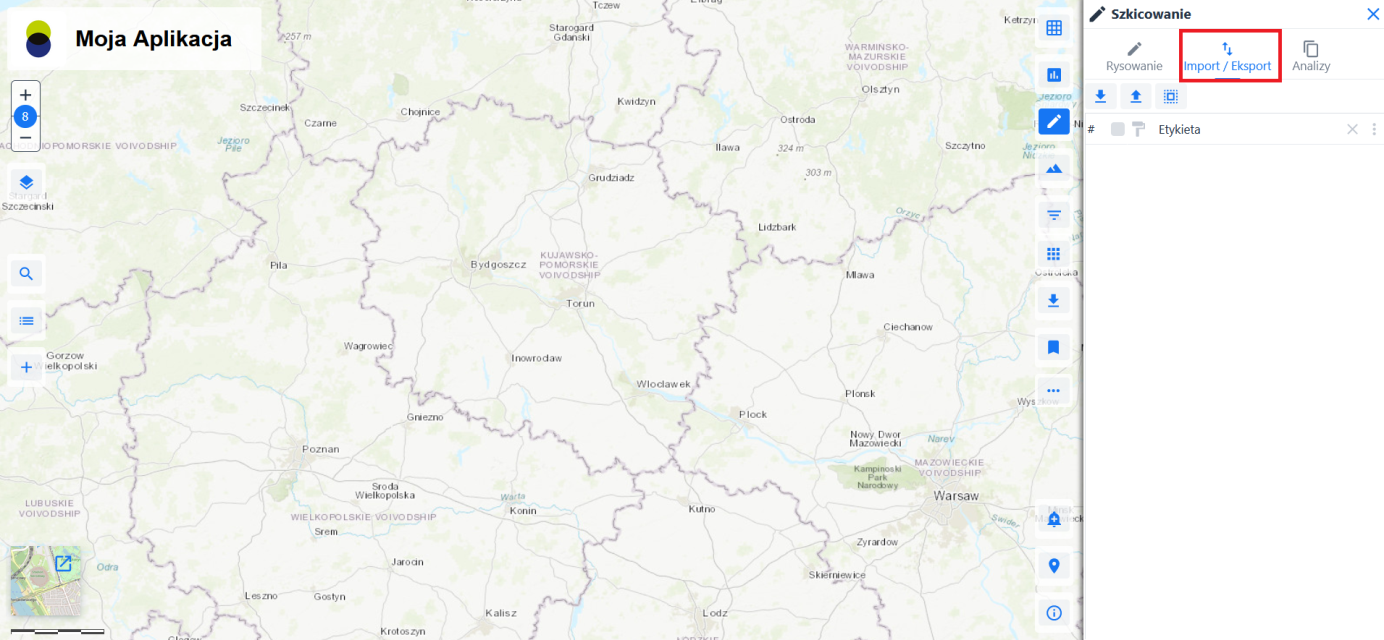
In order to create vector objects as a sketch, the user selects the {Sketching} icon (![]() ). When this functionality is activated, a window with the available tools is displayed:
). When this functionality is activated, a window with the available tools is displayed:
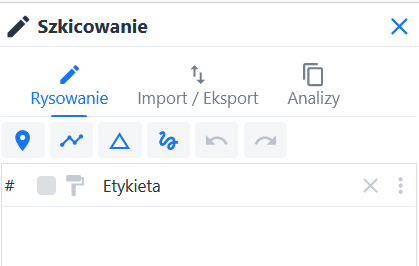
List of available tools from the {Drawing} menu:
- Point (
 )
) - Line (
 )
) - Polygon (
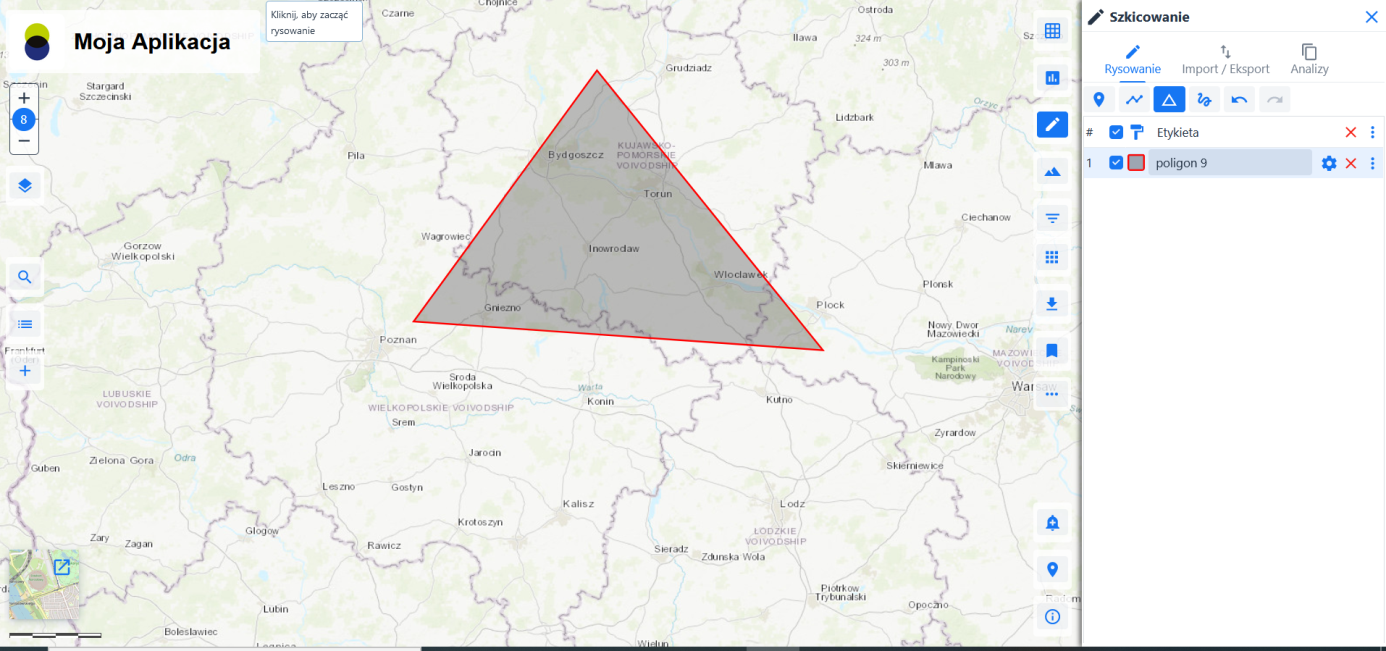
 ) - it is possible to draw a polygon on the map by marking out three or more points. The user will be able to modify the sketch being drawn by deleting the last point. To finish adding points, click on the last point, make a quick double click, or select Finish. Once drawn, a polygon will appear on the map with the given area and the total length of the sides of the polygon.
 - Shape (
 ) – any shape can be plotted
 - Undo (
 ) – undoes the drawing action
 - Restore (
 ) – allows you to restore a deleted sketch
Once the geometry is drawn, a window for editing the sketch is displayed.
Using the Manu {Drawing} tools, for each sketch added the user can:
mark/unmark its visibility on the map (
 )
)name the sketch by entering a name in the window

define the style of the sketch using the options available under the button (
 ) - by defining the fill colour and transparency of the polygon fill, selection of the outline style and its width, the outline colour and its transparency. Changes are saved by clicking the {Close} button.
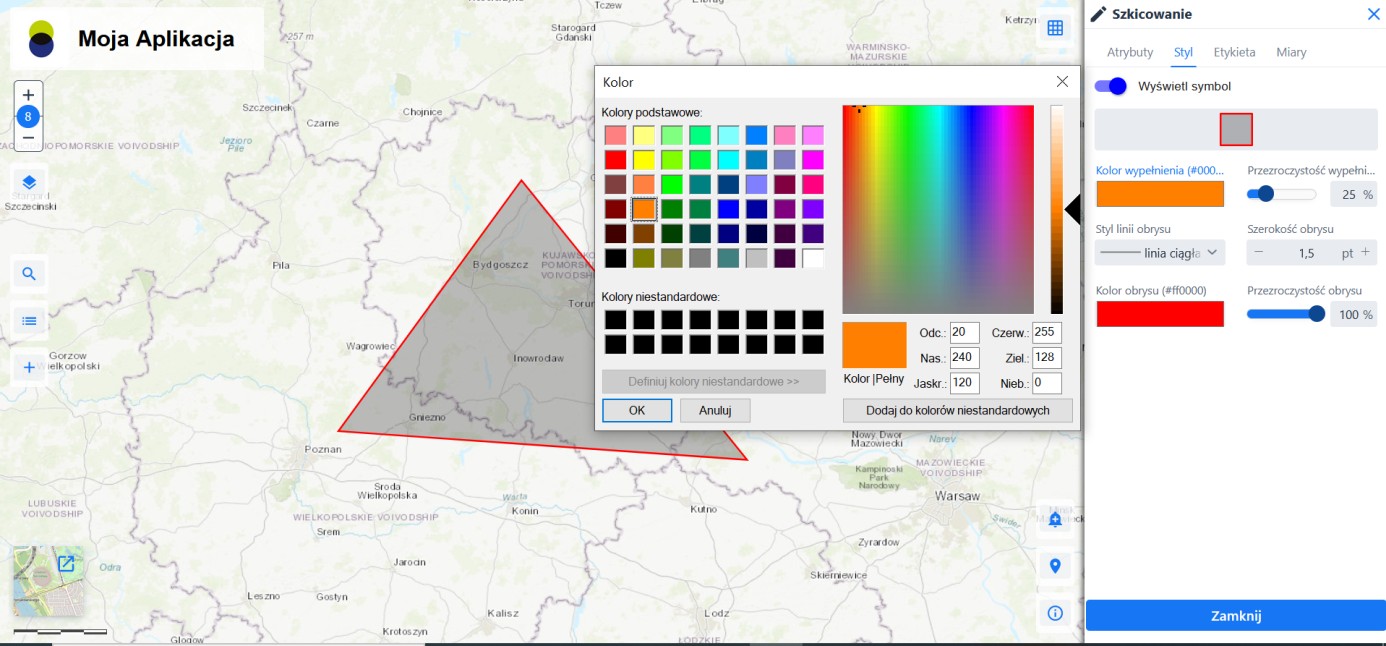
Picture 20 Sketching - Sketch style change the sketch properties (
 ), by: editing attributes, changing style, label, sketch measures
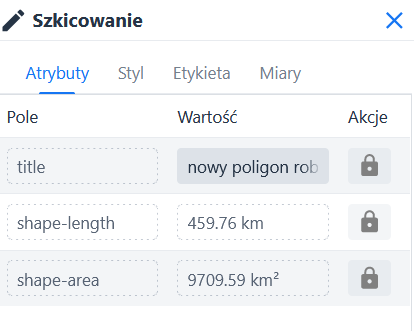
Picture 21 Sketching - Editing sketch attributes 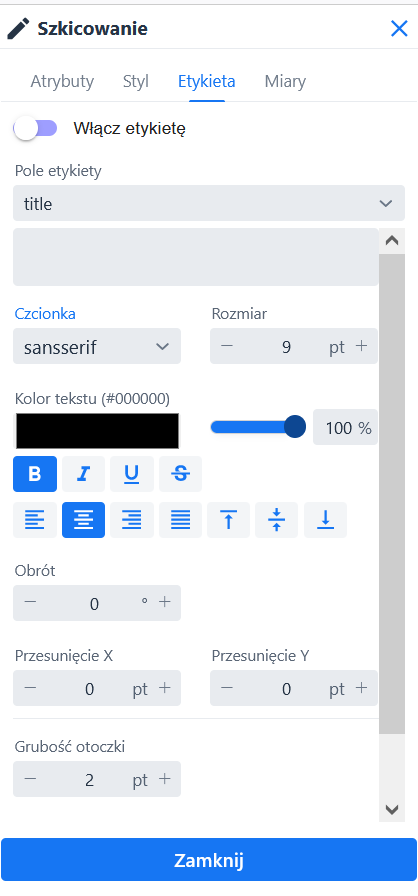
Picture 22 Sketching - Sketch label - change properties 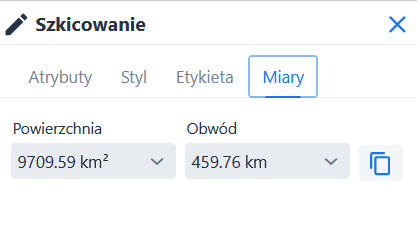
Picture 23 Sketching - Changing sketch measures delete the sketch (
 )
)adjust the visibility of the sketch using the sketch menu tools: turn on/off the visibility of the sketch on the map, turn on/off the sketch label, zoom in on the sketch.
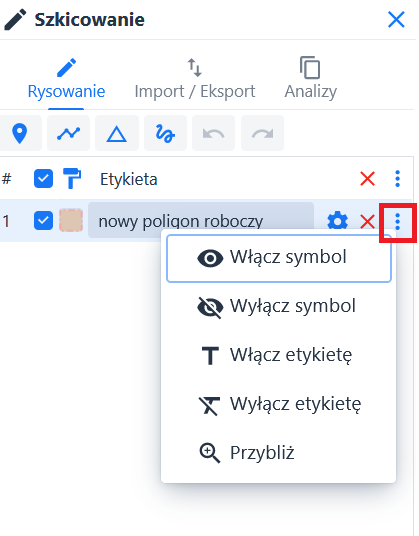
Picture 24 Sketching - menu Using the Manu {Import/Export} tools, the user can use the options:
Picture 25 Sketching - Import/Export menu save the sketch to a file using {Save to File} (
 ) - possibility to export sketch objects to a file in GeoJSON format;
load a sketch from file {Read from file} (
 ) - possibility of adding data from selected GeoJSON file to a sketch layer.
or load a sketch using previously selected objects {Read objects from selection} (
 )
)
On the basis of prepared sketches User can make some analyses using tools from {Analysis} menu. 
- The tool {Combine Selection} (
 ) – allows to combine selected, previously drawn objects into one sketch
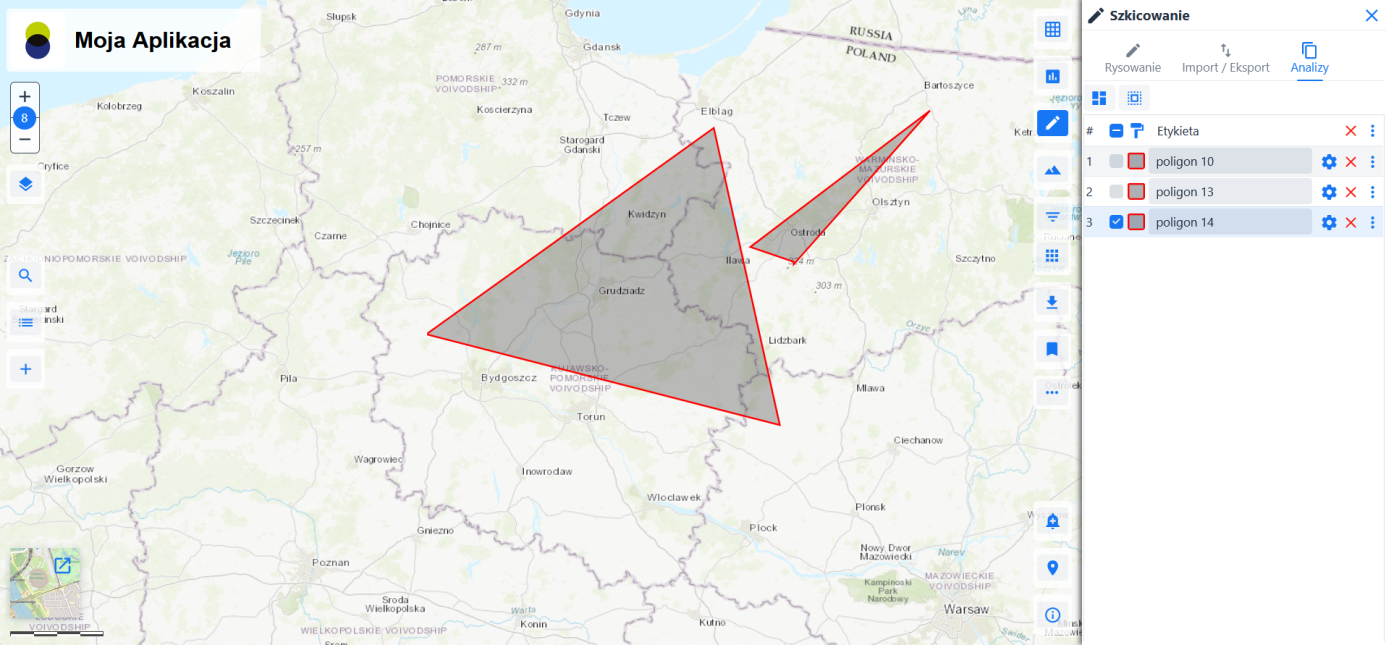
Picture 27 Sketching - Combining sketch objects into a single sketch - The {Cache Selection} tool () – allows you to create a buffer around the selected sketch object by defining its value in meters {Add buffer value}, then the module creates another sketch object with the added buffer.
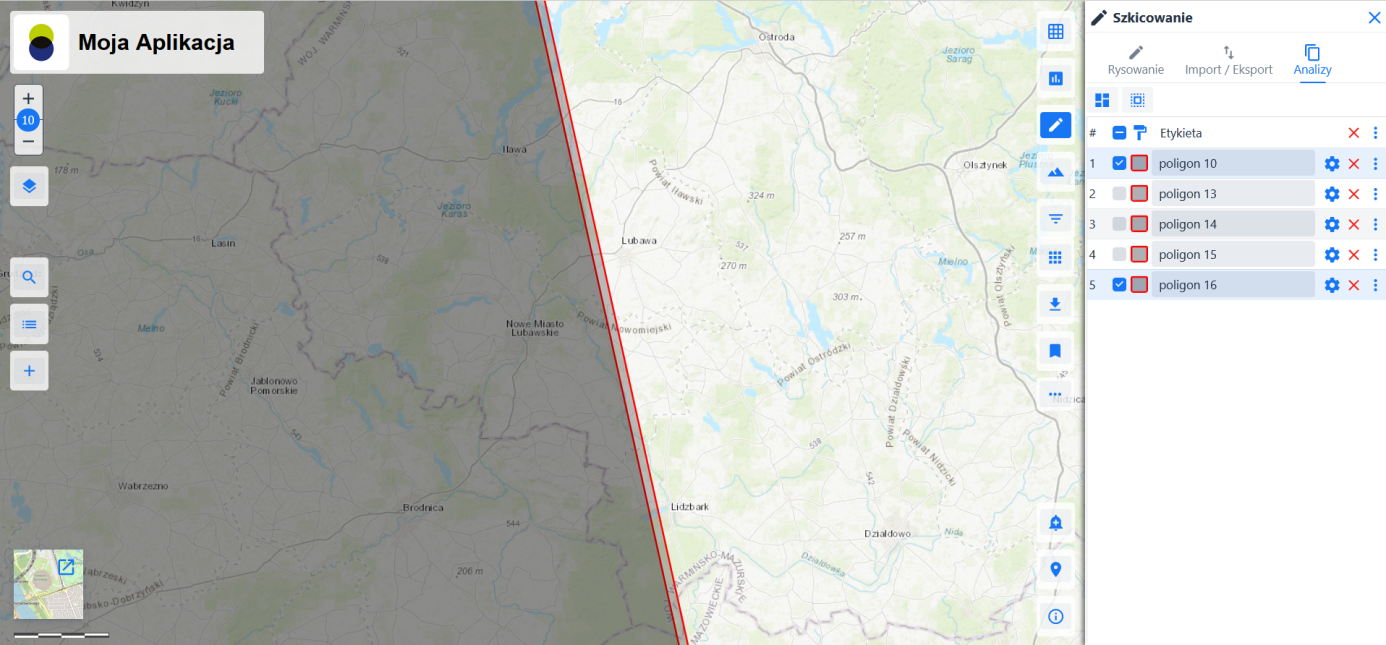
Picture 28 Sketching - Analyses - Buffer selected
Profile
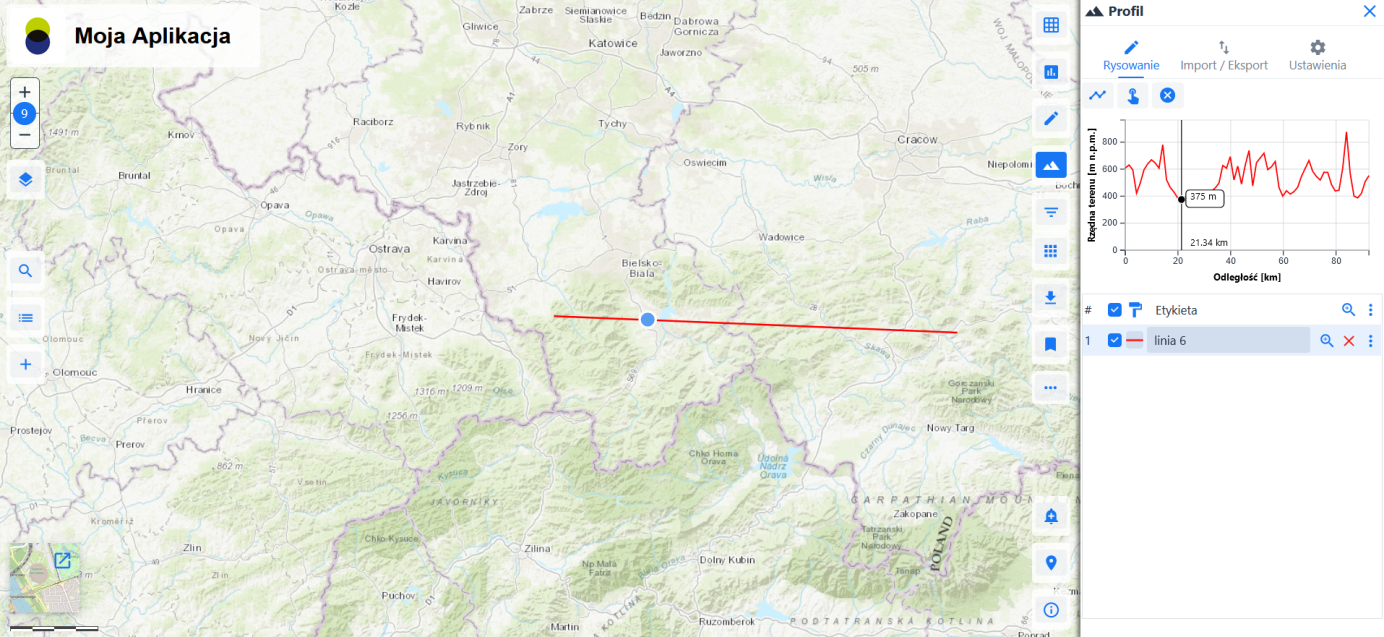
The {Profile} tool (![]() ) tool allows the generation of a longitudinal profile for a line drawn from the Numerical Terrain Model.
) tool allows the generation of a longitudinal profile for a line drawn from the Numerical Terrain Model.
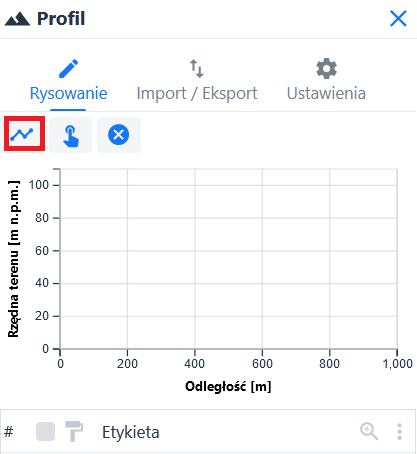
Once the tool is activated, click the {Draw Profile Line} button (![]() ). Next, enter the geometry of the object on the map, e.g. two or more points, which will define the line along which the terrain profile graph will be generated. To finish adding points, click on the last point or make a quick double click. The module generates a {Terrain profile}.
). Next, enter the geometry of the object on the map, e.g. two or more points, which will define the line along which the terrain profile graph will be generated. To finish adding points, click on the last point or make a quick double click. The module generates a {Terrain profile}.
After generating the profile, the ordinate of height at a given point can be read - just hover over this point on the graph.
Moreover, it is possible to generate a profile using the button {Select a segment on a line layer} (![]() ). The user indicates on the map the section for which he wants to generate the terrain profile.
). The user indicates on the map the section for which he wants to generate the terrain profile.
The module displays the terrain profile in the Terrain Profile window.
Using the {Cancel Drawing} icon (![]() ) the User can choose not to continue sketching on the map.
) the User can choose not to continue sketching on the map.
The user can use the {Import/Export} menu option:
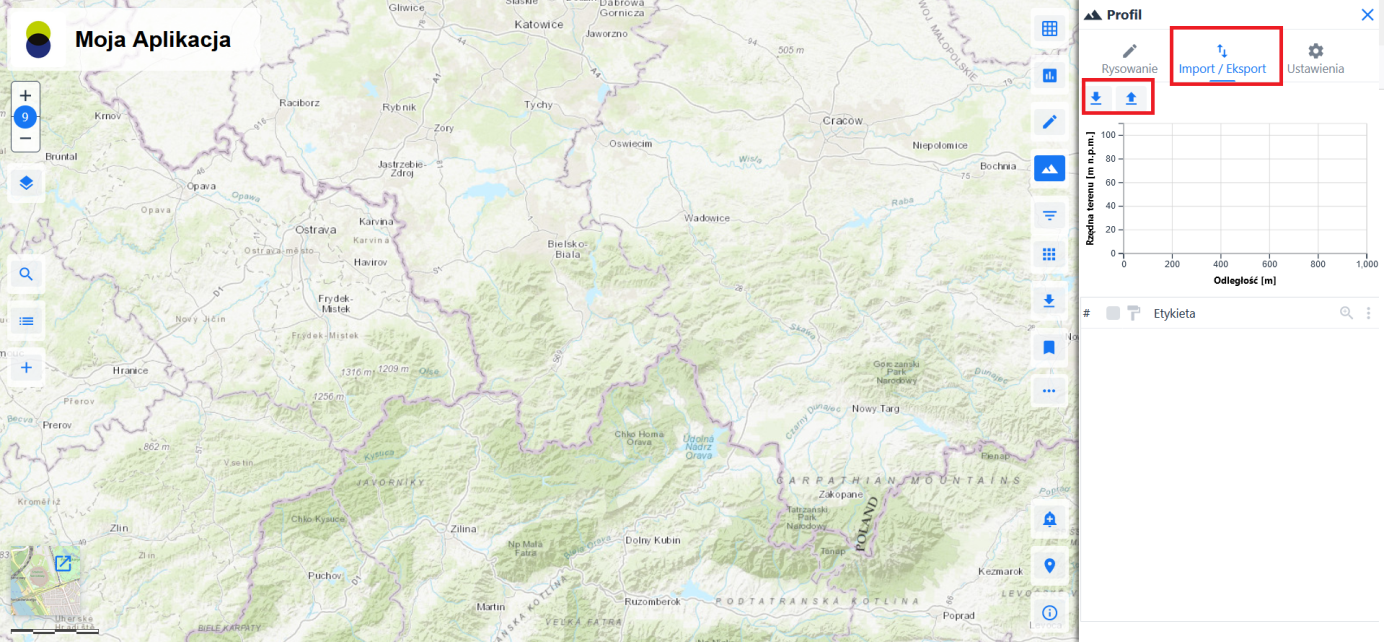
- Import the sketch with the {Import} option () - the possibility of importing the sketch objects from a file in GeoJSON format;
- Export the sketch {Export} () - possibility of exporting the sketch to GeoJSON file
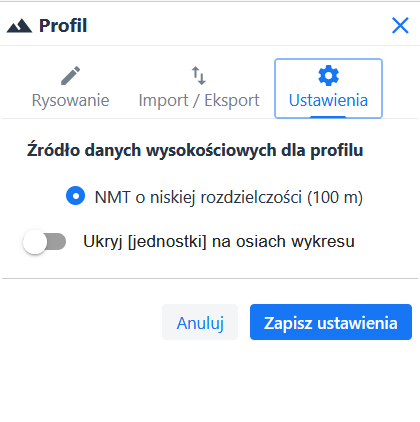
The module allows the user to define settings for the profile calculation - options are available from Manu {Settings} - information about the source of elevation data for the profile and the possibility to hide the unit on the axes of the graph.
Other map portals
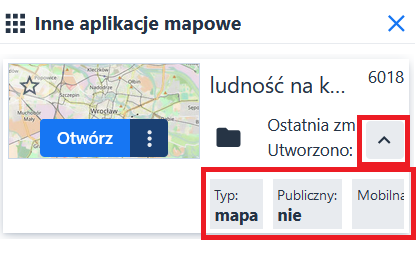
After selecting the {Other map portals} icon (![]() ) the module calls the window with the list of other map portals made available by its creator.
) the module calls the window with the list of other map portals made available by its creator.
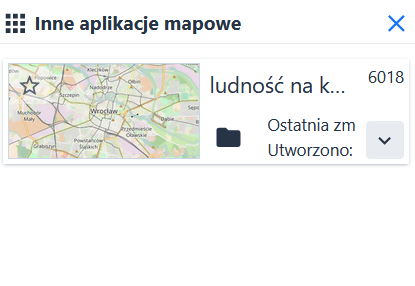
After moving the mouse cursor over the map image, the {Open} button ( ), is activated, after clicking on it, the selected map portal will open in a new browser window.
The user can obtain more information on the map portal by clicking the button (![]() ). And if the cursor is set on {Last modified}, the module displays information about the last change for this map portal (date, time), for {Created} the module displays the date and time of the map portal creation.
). And if the cursor is set on {Last modified}, the module displays information about the last change for this map portal (date, time), for {Created} the module displays the date and time of the map portal creation.
The icon (![]() ) informs about the type of resource.
) informs about the type of resource.
Layer export
The icon (![]() ) calls up the {Export Layers} tool.
) calls up the {Export Layers} tool.
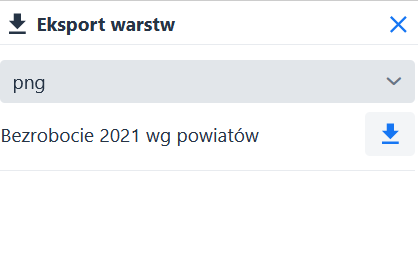
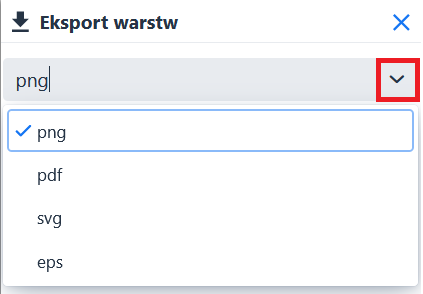
In the window there are listed thematic layers available in the module (made available by the creator of the map portal). From the pop-up list the User chooses preferred data format.
Then, next to chosen thematic layer User clicks {Download} (![]() ). The layer is exported to the chosen format.
). The layer is exported to the chosen format.
Bookmarks
This function allows you to define spatial bookmarks - links to predefined map views. In order to save a new bookmark, set the appropriate view in the main map portal window (e.g. location of a specific city) and then select {Bookmarks} (![]() ), and {Add} (
), and {Add} ( ).
).
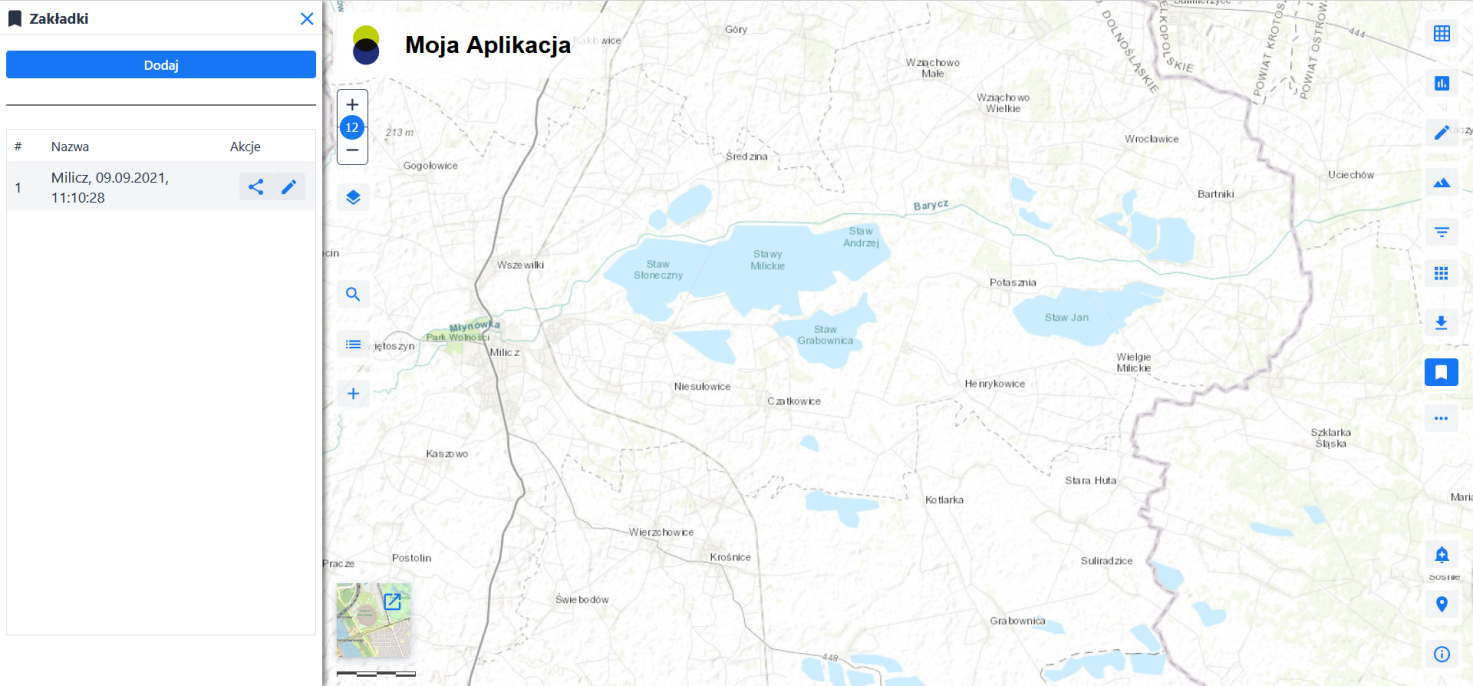
This will add a new bookmark, for which a default name will be given.
The user can rename the bookmark by clicking on the {Edit} icon (![]() ) and entering any name in the edit window.
) and entering any name in the edit window.
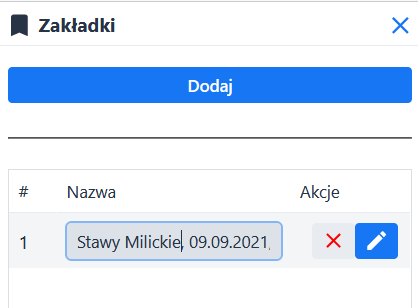
To remove a bookmark from the list of saved map views, the User uses the {Remove} icon (![]() ).
).
After saving the bookmark, it will be available in the bookmarks window. To use it, click on the name of the bookmark selected from the list - this will scale the current view to the view saved in the bookmark.
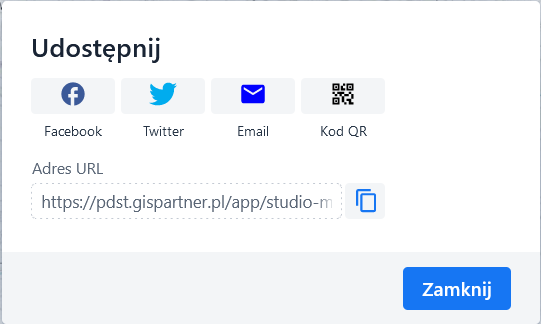
The saved bookmark can be shared using {Share} (![]() ) to share it via popular social networks, email or by copying and sharing the generated link to the map portal view.
) to share it via popular social networks, email or by copying and sharing the generated link to the map portal view.