Module functions
This section describes the individual functions of the map portal:
Filtering
From within the module the {Filtering} option (![]() ) is available to define spatial and attribute filters for the selected thematic layer.
) is available to define spatial and attribute filters for the selected thematic layer.
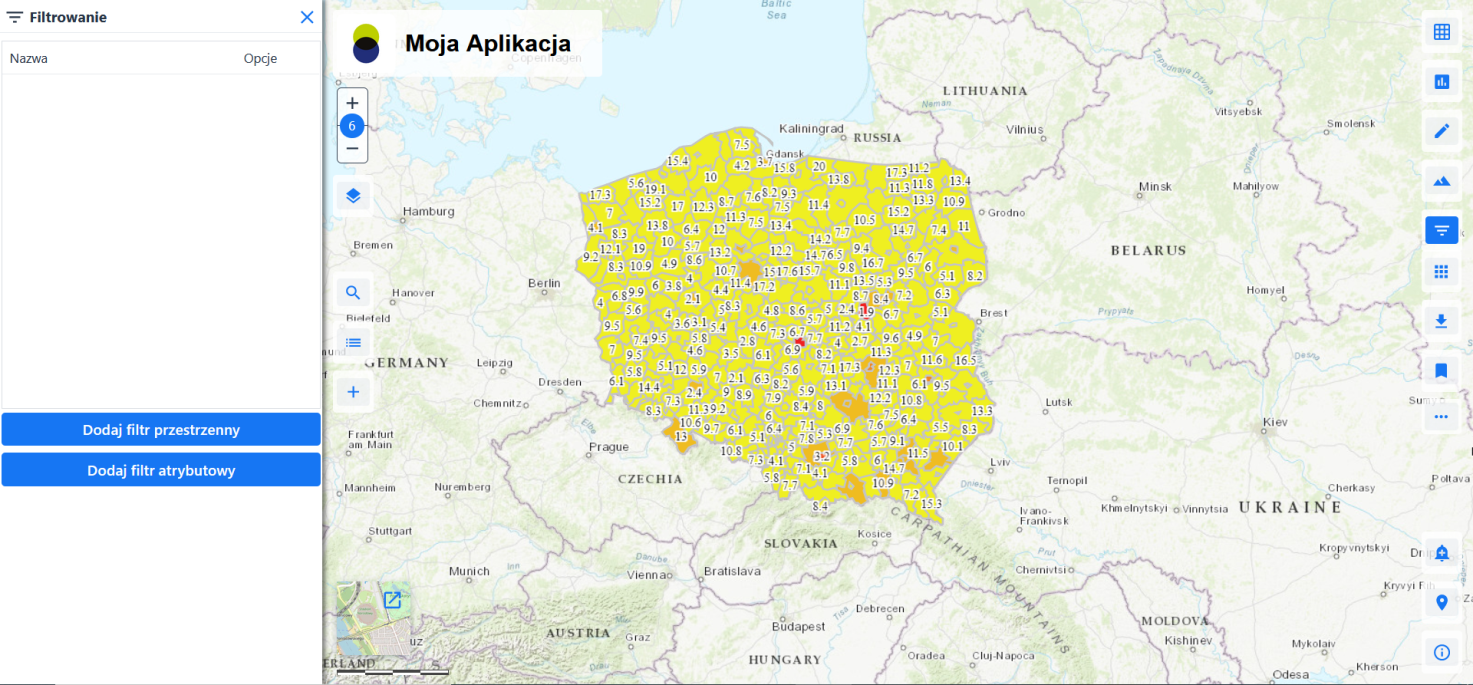
Spatial filtering
To define spatial conditions, the User selects {Add Spatial Filter} ( ). The module displays a window for defining the conditions:
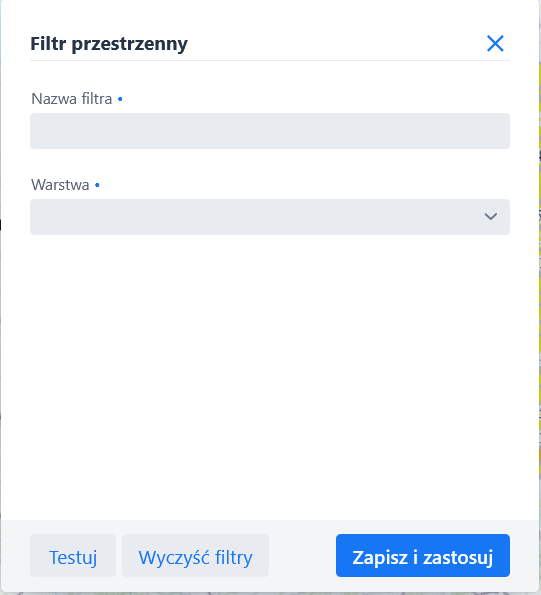
The user gives a name for the defined filter and from the drop-down list of thematic layers indicates the layer to which the filtering will apply. Having selected a layer, the module makes available tools for specifying a spatial condition.
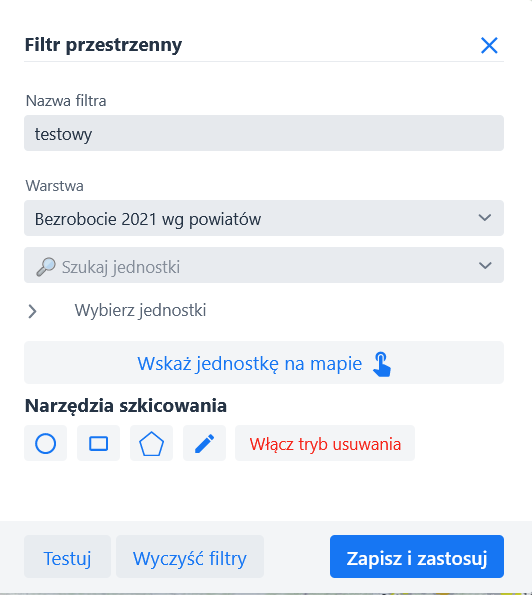
To define spatial conditions the User can:
- Search for a unit using the {Search Units} search engine
 by typing the search term and using the hints displayed by the module
 - Use the option {Select units} - selection from a defined list
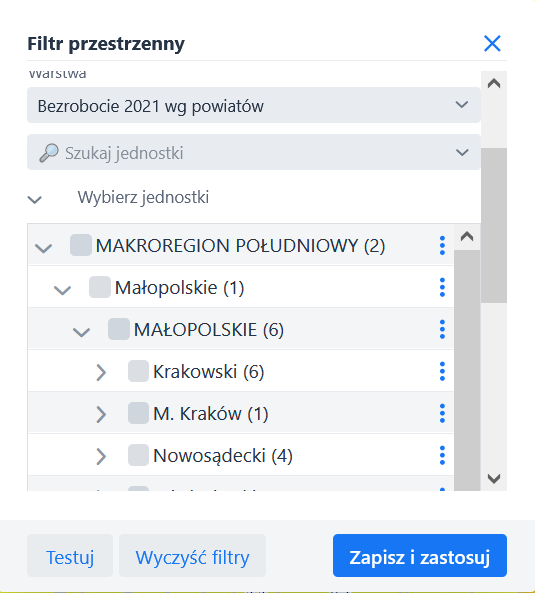
Picture 43 Spatial filter - Select units - Point to a unit on the map {Point to unit on map} (
 ) – after selecting this option the User points to a particular unit on the map.
 - Or use the sketch tools - drawing the area with a circle (
 ), rectangle (
 ), polygon (
 ) or importing geometry from a previously prepared sketch (
 ). The {Enable delete mode}(
 ) allows you to delete a sketch (using any drawing tool).
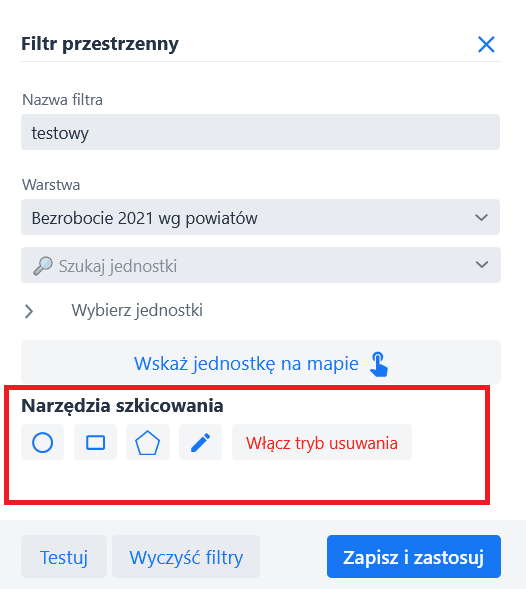
Picture 44 Spatial Filter - Sketch Tools
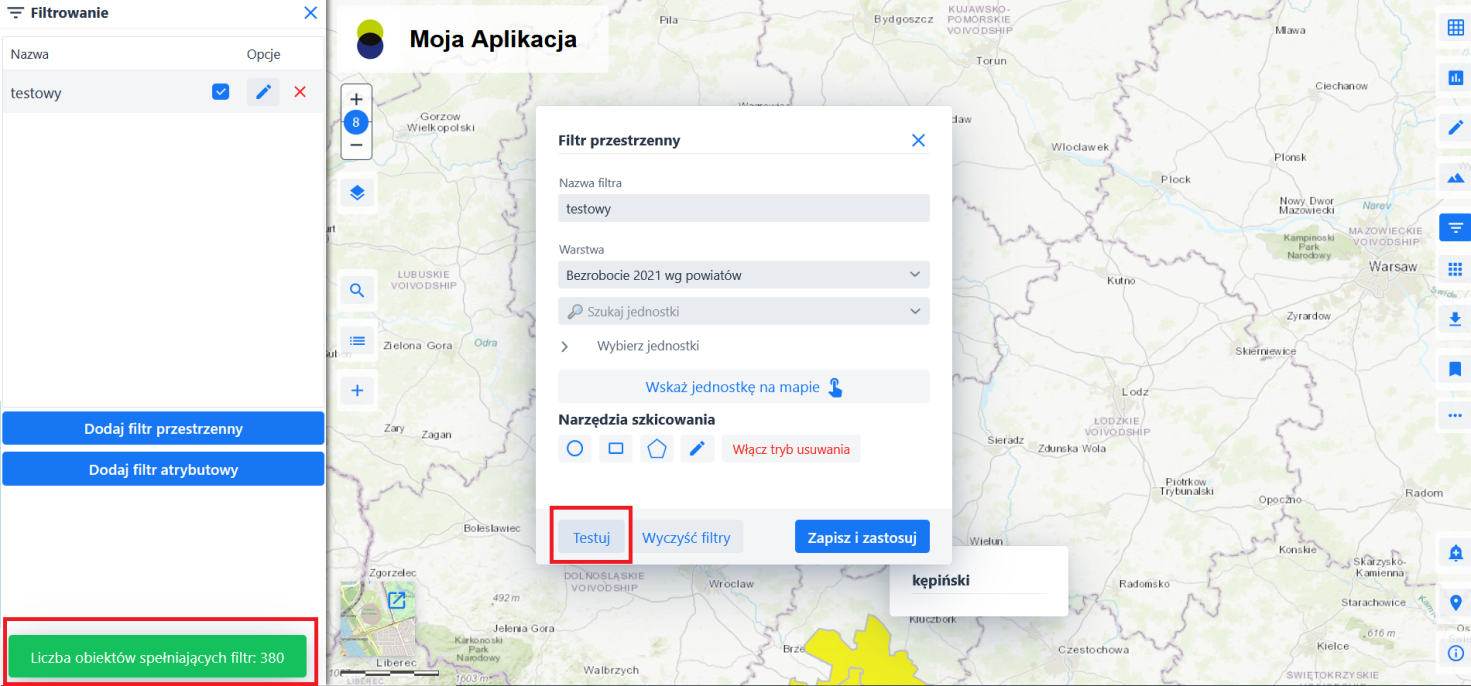
After defining the condition, the user clicks the {Test} button ( ) to receive information about the number of objects that meet the condition.
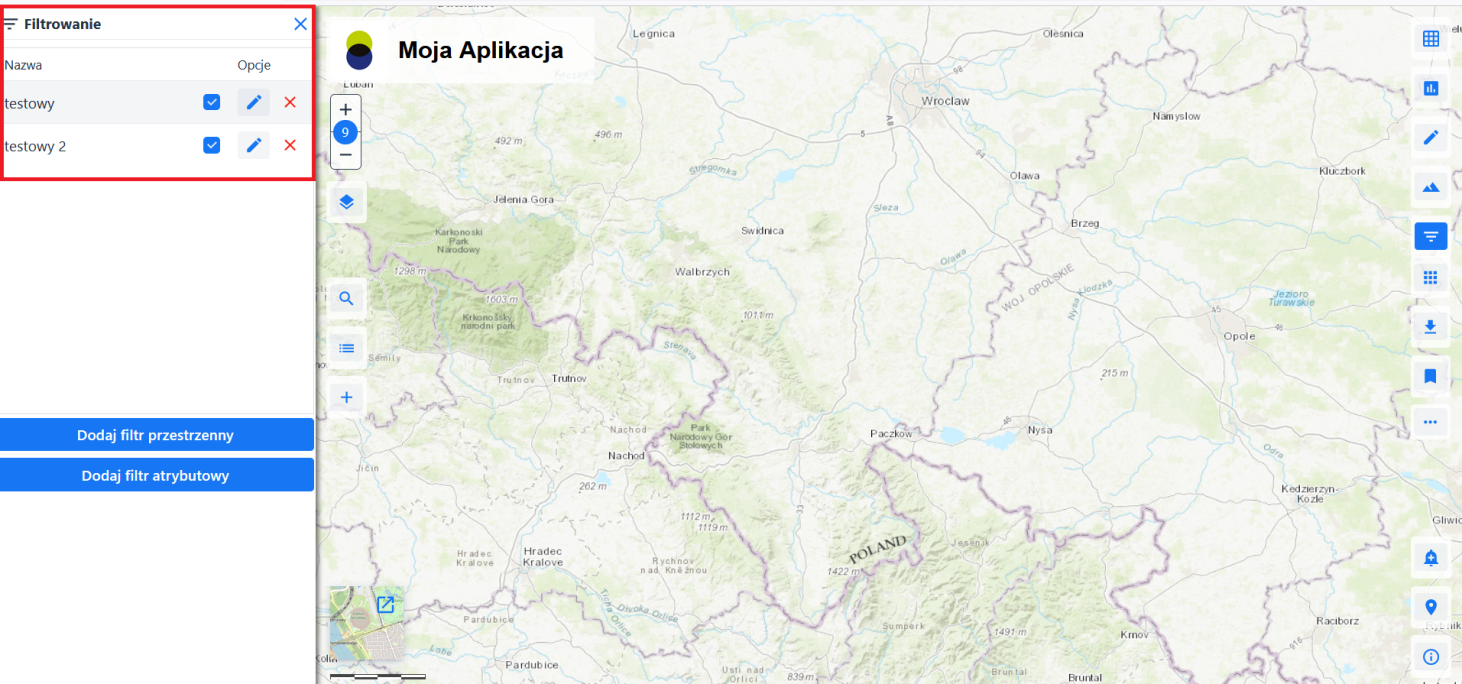
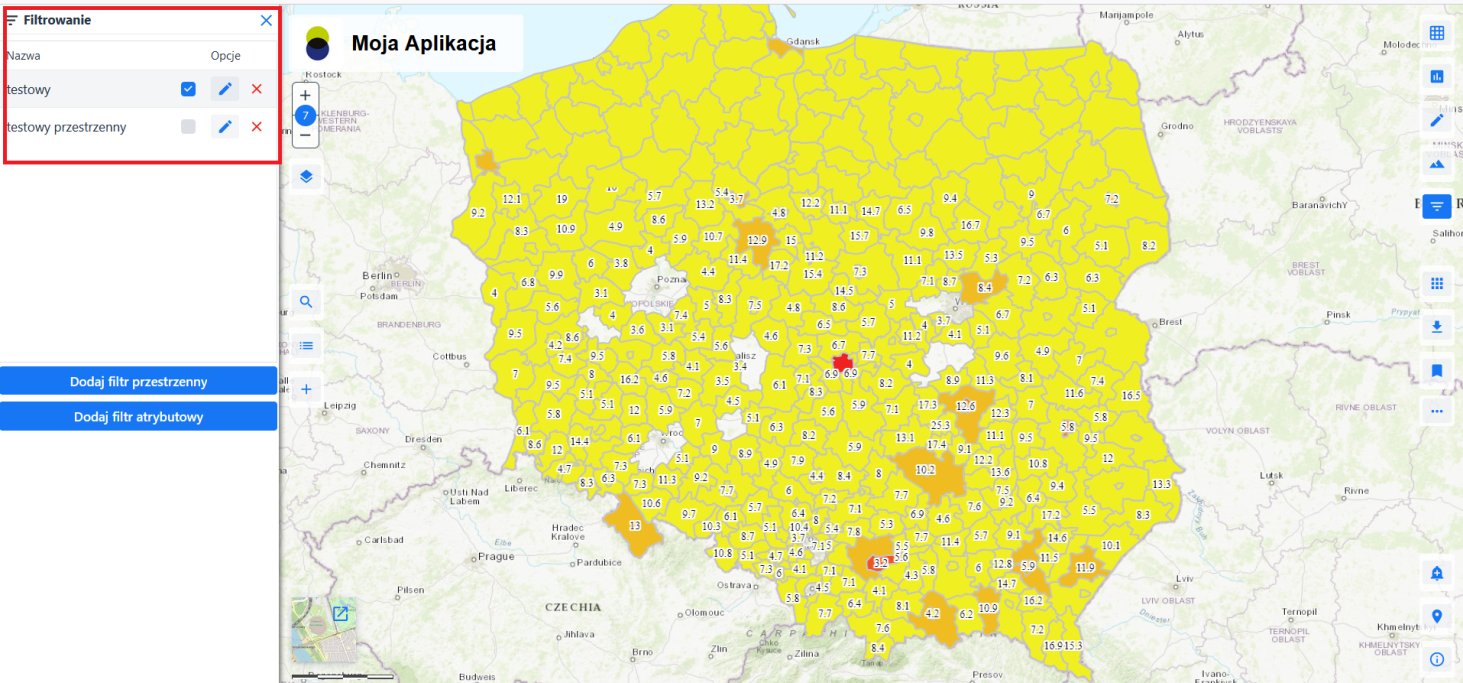
To clear the defined filters the user uses the {Clear Filters} button ( ) and can redefine the filter conditions. The {Save & Apply} button (
 ) allows the User to save the filter settings. The application displays this filter in the list, from where the User can enable/disable it (
![]() ), re-edit its conditions (
), re-edit its conditions (![]() ) or delete it (
) or delete it (![]() ). Using the filter automatically displays the data of the set conditions on the map.
). Using the filter automatically displays the data of the set conditions on the map.
Attribute-based filtering
In order to define spatial conditions the User selects {Add Attribute}  . The module displays a window for defining conditions:
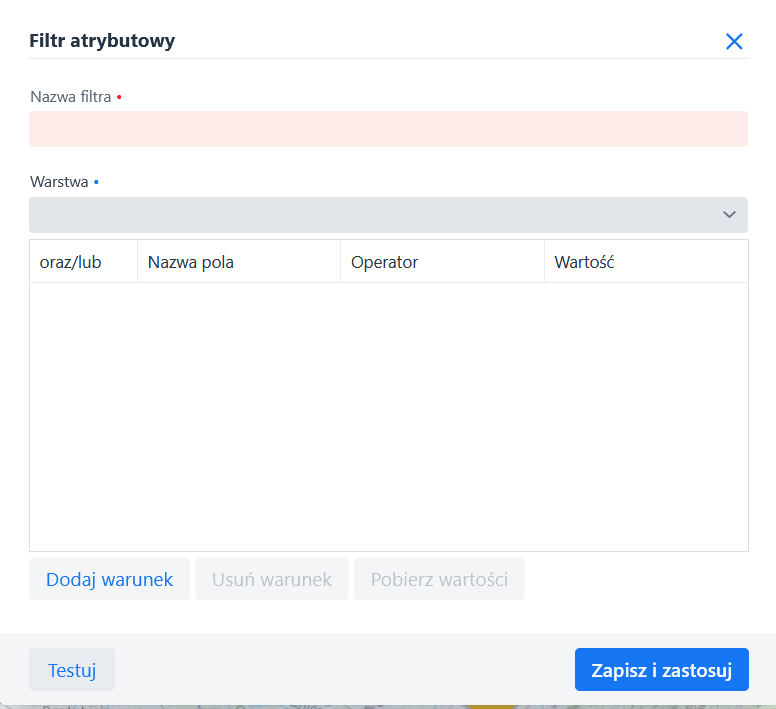
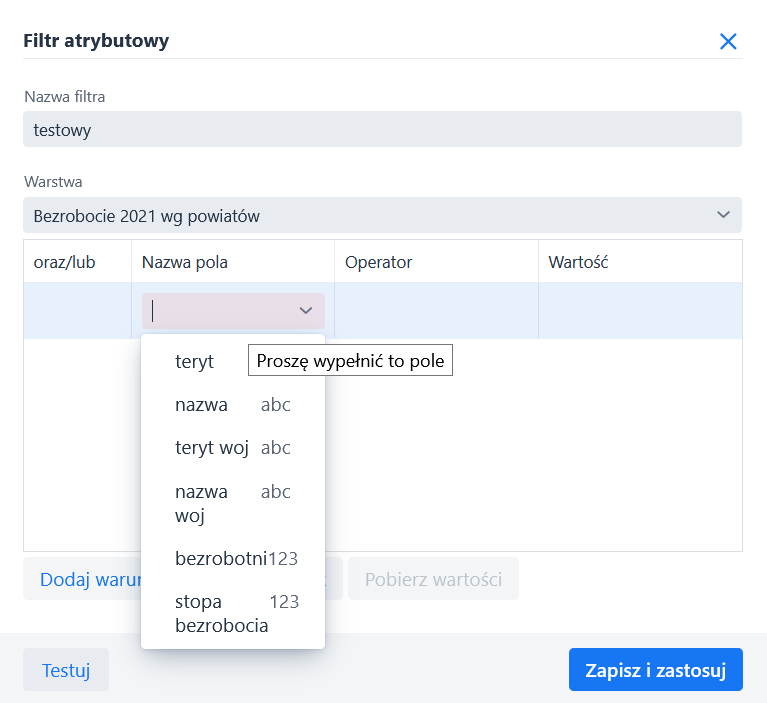
The User gives a name for the defined filter and from the drop-down list of thematic layers indicates the one to which the filtering will apply. Then the User clicks {Add condition} ( )) and defines fields (selection from the list) / operator (selection from the list) / value for the desired condition. To specify a value, the user can use {Get Values} (
 ), which will allow precise indication from a list of existing values for the selected field.

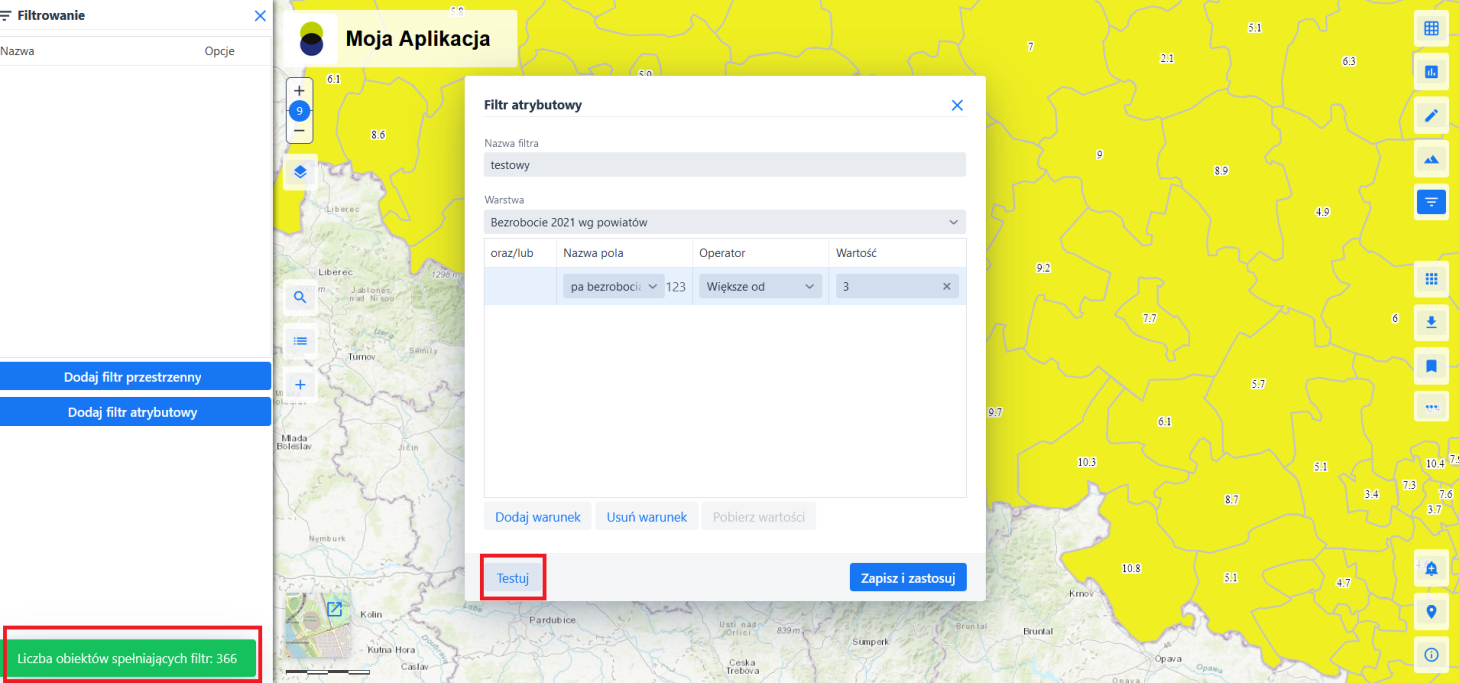
After defining the condition, the User by clicking the button {Test} () will receive information about the number of objects that meet the condition.
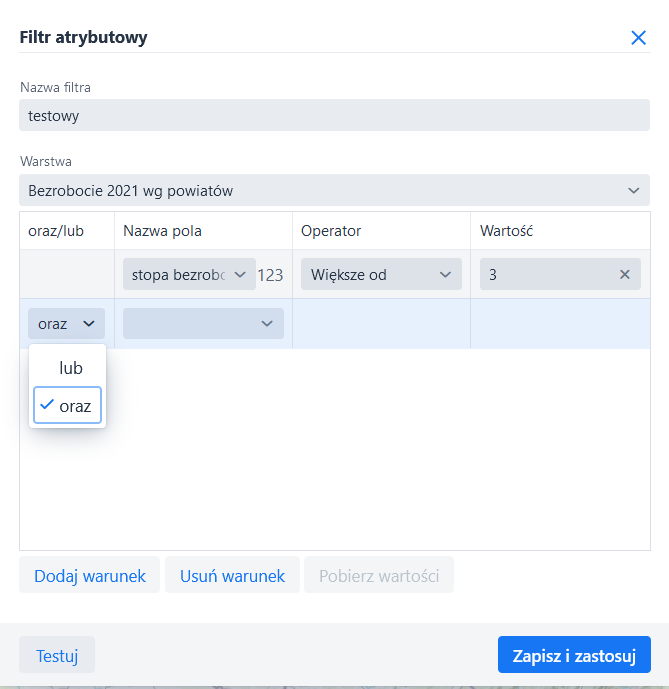
The user can delete the defined condition {Delete condition} ( ). The user can also add another attribute condition {Add Condition} ()
The button {Save and apply} () allows the User to save the filter settings. The module displays this filter in the list, from where the User can enable/disable it (![]() ), re-edit its conditions (
), re-edit its conditions (![]() ) or delete it (
) or delete it (![]() ). Using the filter causes automatic display of data on the set conditions on the map.
). Using the filter causes automatic display of data on the set conditions on the map.
Tools for selection
When the {Selection Tools} icon (![]() ) is selected, the window with settings and selection tools is displayed.
) is selected, the window with settings and selection tools is displayed.
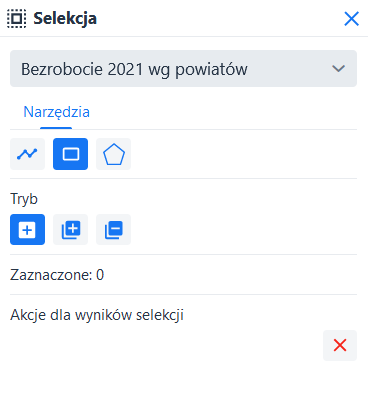
Description of selection elements:
- Active layer - a field to select the layer (from the list) whose objects will be subject to selection. The list of layers includes those layers selected in the map portal wizard as available for selection. Only one layer can be active. Changing the active layer removes selections for the previous layer from the map.
- Selection tools - tools for defining spatial conditions are presented: Line Selection (
 ), Rectangle Selection (), Polygon Selection (). Drawing a spatial object on a map performs the currently selected operation on object selection using the spatial condition and the attribute condition - if the attribute condition option is enabled and the condition has been defined
 - Selection mode - the user can select one of 4 action types: {New selection} (
 ), {Add to selection} (
 ), {Remove from selection} (
 ).
). - Actions for selection results:: {Clear Selection} (
 ) – a tool to clear the current selection.
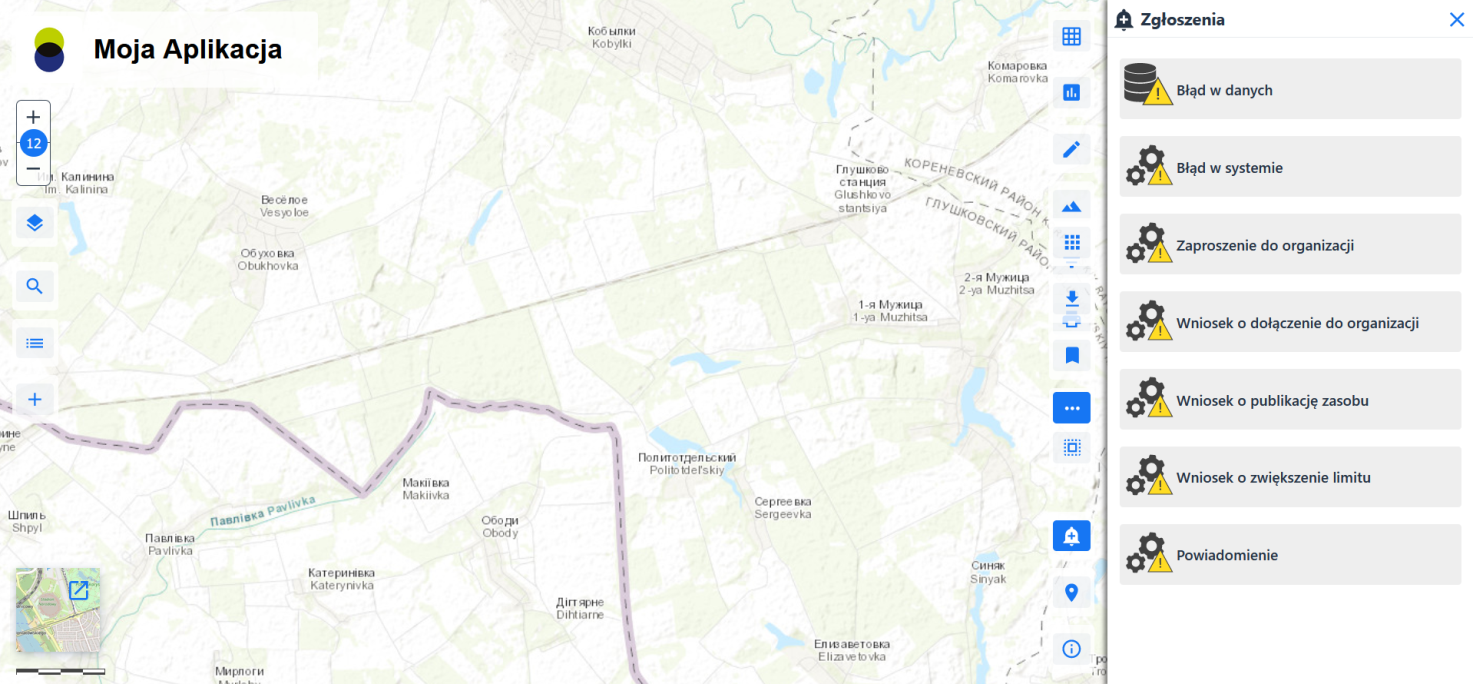
Notifications
This function enables the user to submit comments. After selecting the icon {Submissions} (![]() ) the following list of report types is displayed (the list is defined by the Map portal Designer):
) the following list of report types is displayed (the list is defined by the Map portal Designer):
The user selects one of the report types and then enters in the appropriate field, the title and the content of the report, if the error concerns the data, he selects the layer containing the error and additionally using the sketch tools called by the {Mark on map} button ( ) he can mark a fragment of the map with the error.
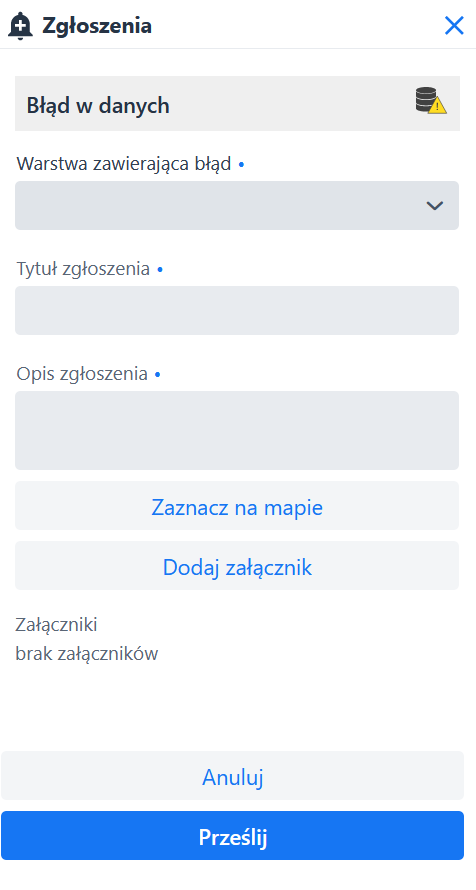

Using the tools from the sketchpad, the user can:
- mark a fragment of the map with an error with a point,
- mark a fragment of the map with an error with a line;
- mark a fragment of the map with an error with a polygon,
- select a point on the map.
For each report, the User can add an attachment {Add Attachment} . After entering all the data in the submission form, the User clicks {Submit}
  to submit the submission.
Information
After clicking on the icon {Information} (![]() ) a window will open with information defined by the Creator, e.g. regulations of the map portal, news in the map portal, etc.
) a window will open with information defined by the Creator, e.g. regulations of the map portal, news in the map portal, etc.
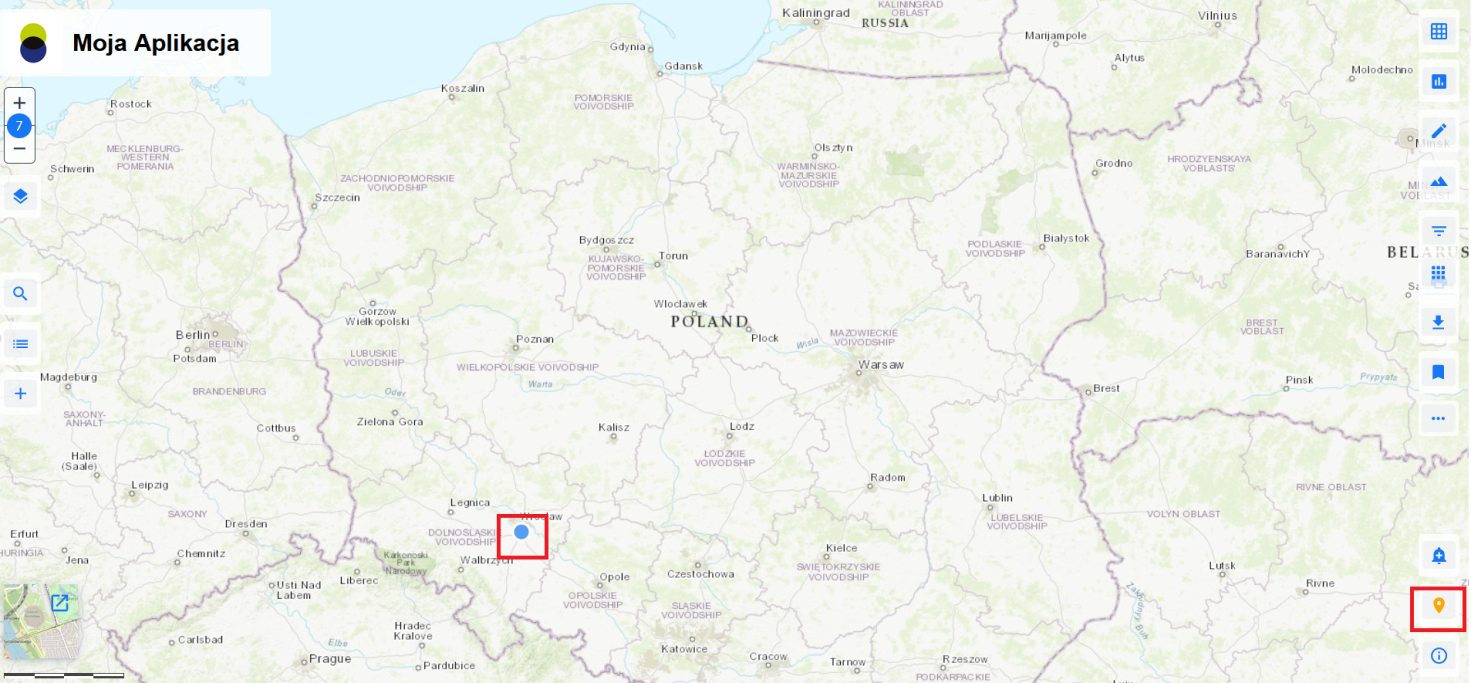
Sharing location information
After selecting the option (![]() ), the module displays a standard question about sharing the User's location information for the site.
), the module displays a standard question about sharing the User's location information for the site.
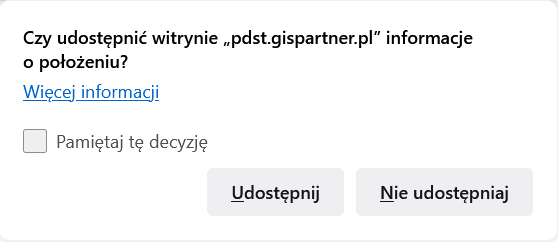
You can choose to share your location by clicking {Share}  or decline the request {Don't share}
  .
.
If you accept to share your location, a point appears in the map window reflecting your location.