Module functions
This section describes the individual functions of the map portal:
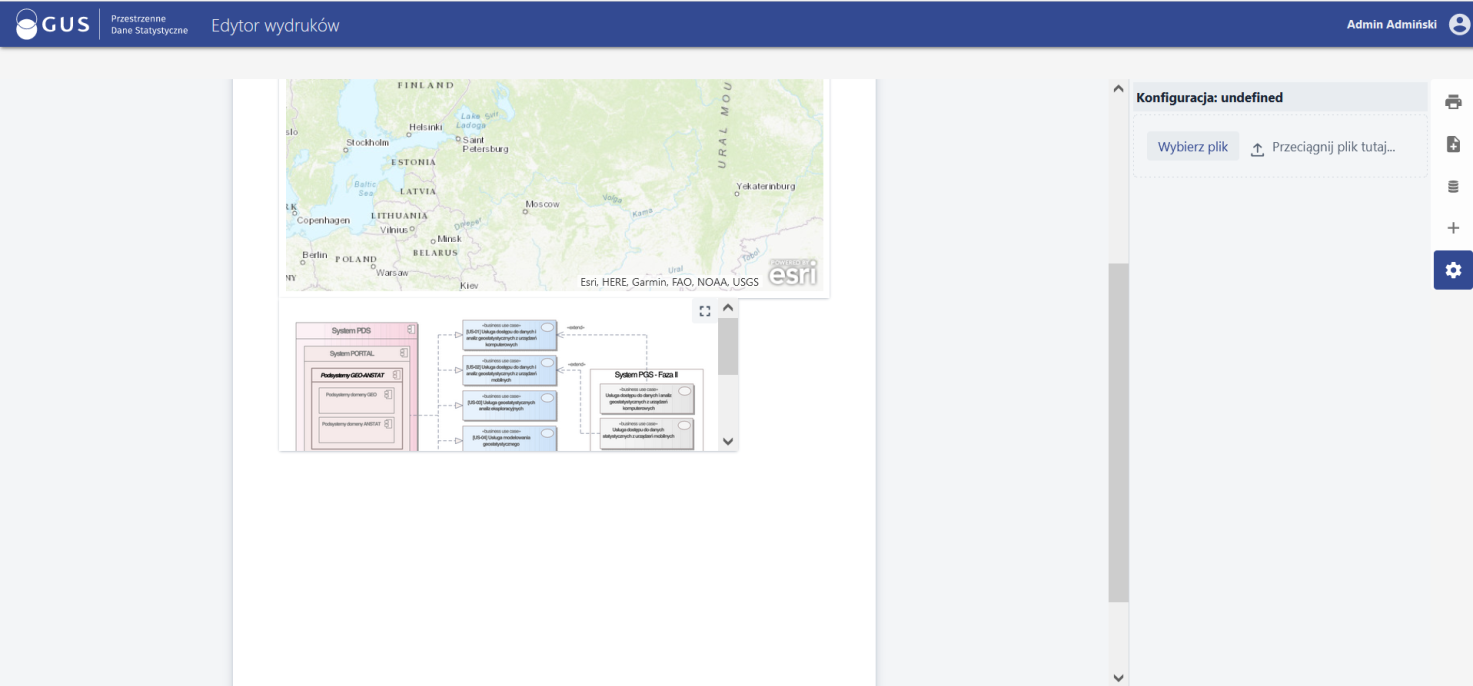
This is a tool used to print the current map view. By clicking the icon ![]() the print editor opens in a separate browser window.
the print editor opens in a separate browser window.
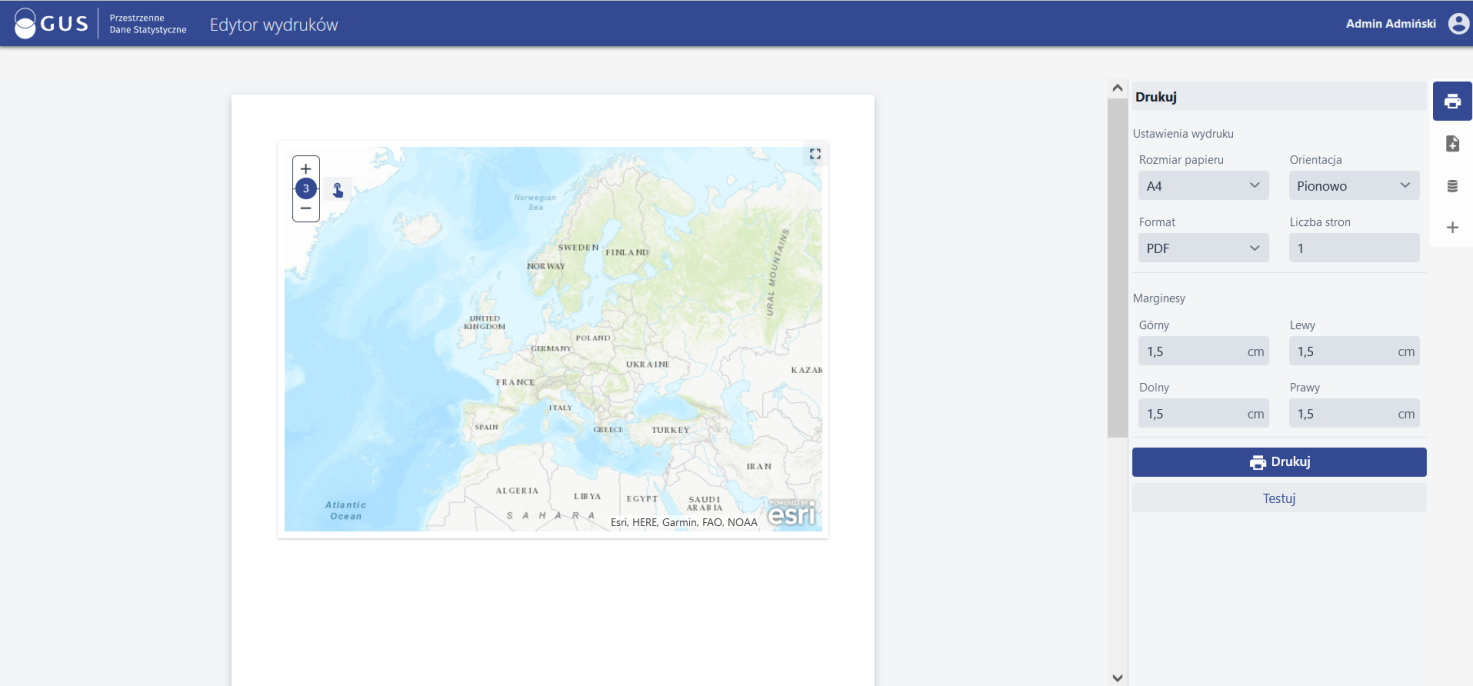
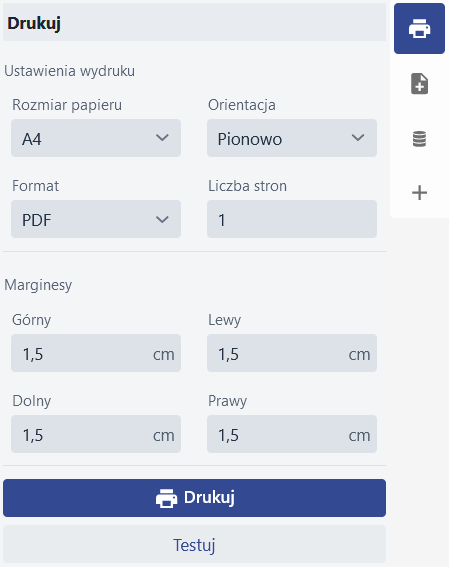
Print settings
The user, by selecting the print settings, can adjust
- page size (A4, A3, A2, A1, A0)
- page orientation (vertical, horizontal)
- format (pdf);
- number of printed pages
- print margins (top, bottom, left, right).
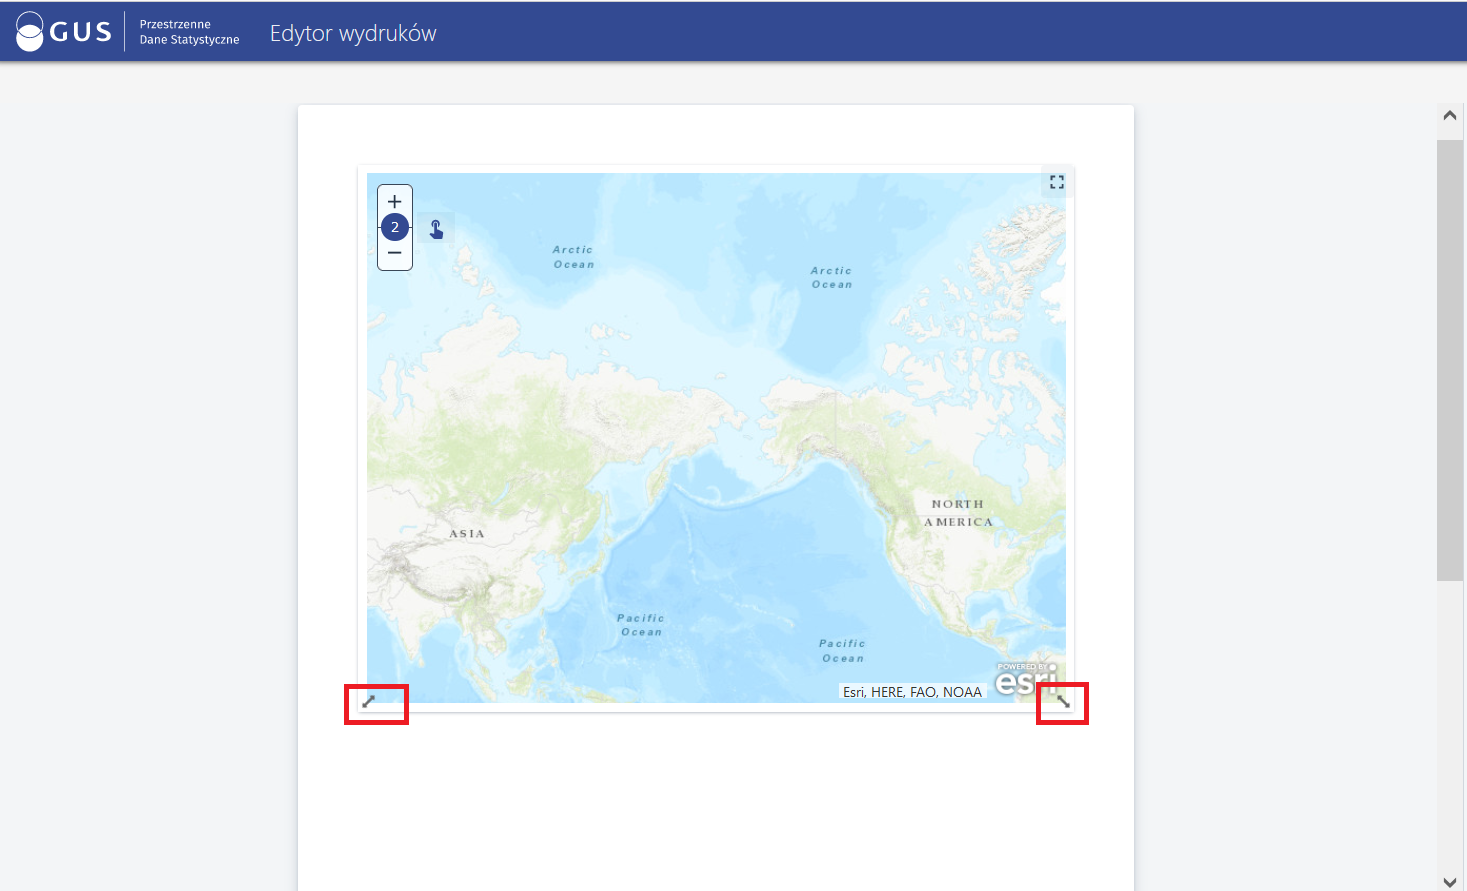
In the map window, the user can change:
- scale of the map to be printed;
- the map view can be changed;
- the size of the map window for printing
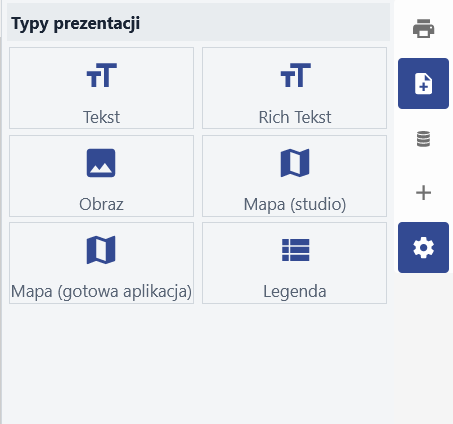
Presentation types
The user can also use the {Presentation types} option (![]() ).
).
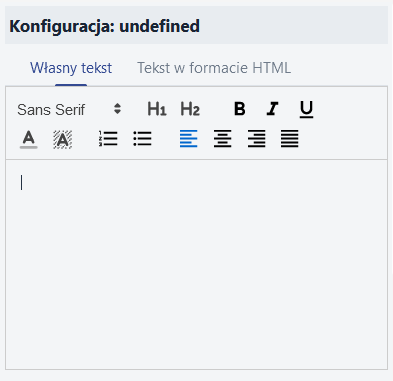
Inserting a text field/ note is done by clicking or dragging the element  or
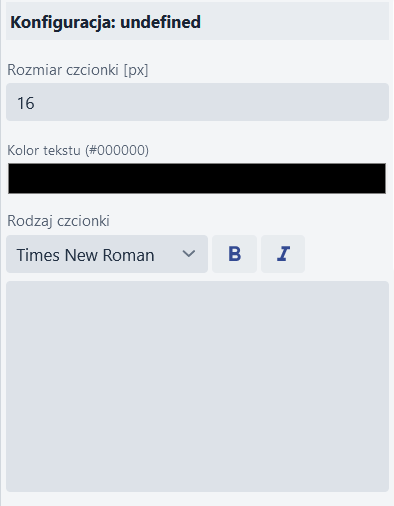
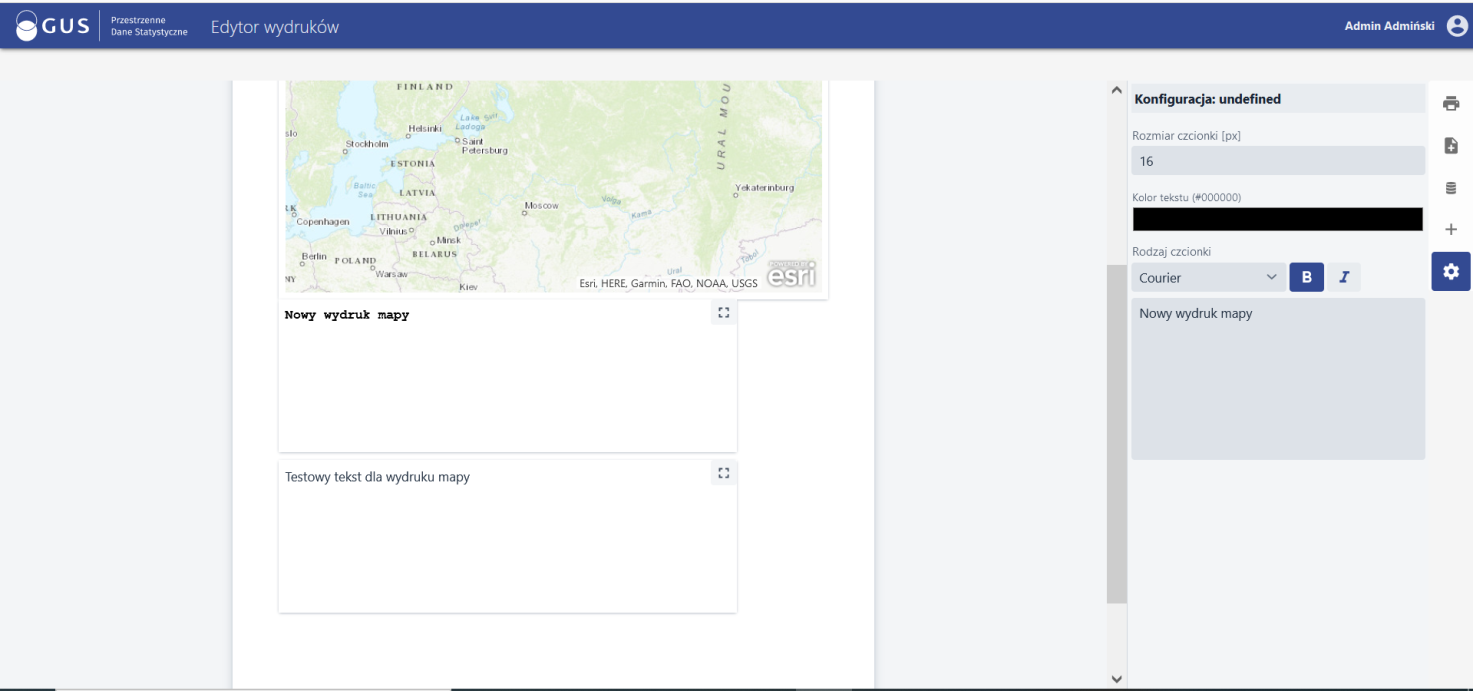
or  . After placing a text field on the printout it is possible to configure the text font settings (e.g. size, colour, font type).
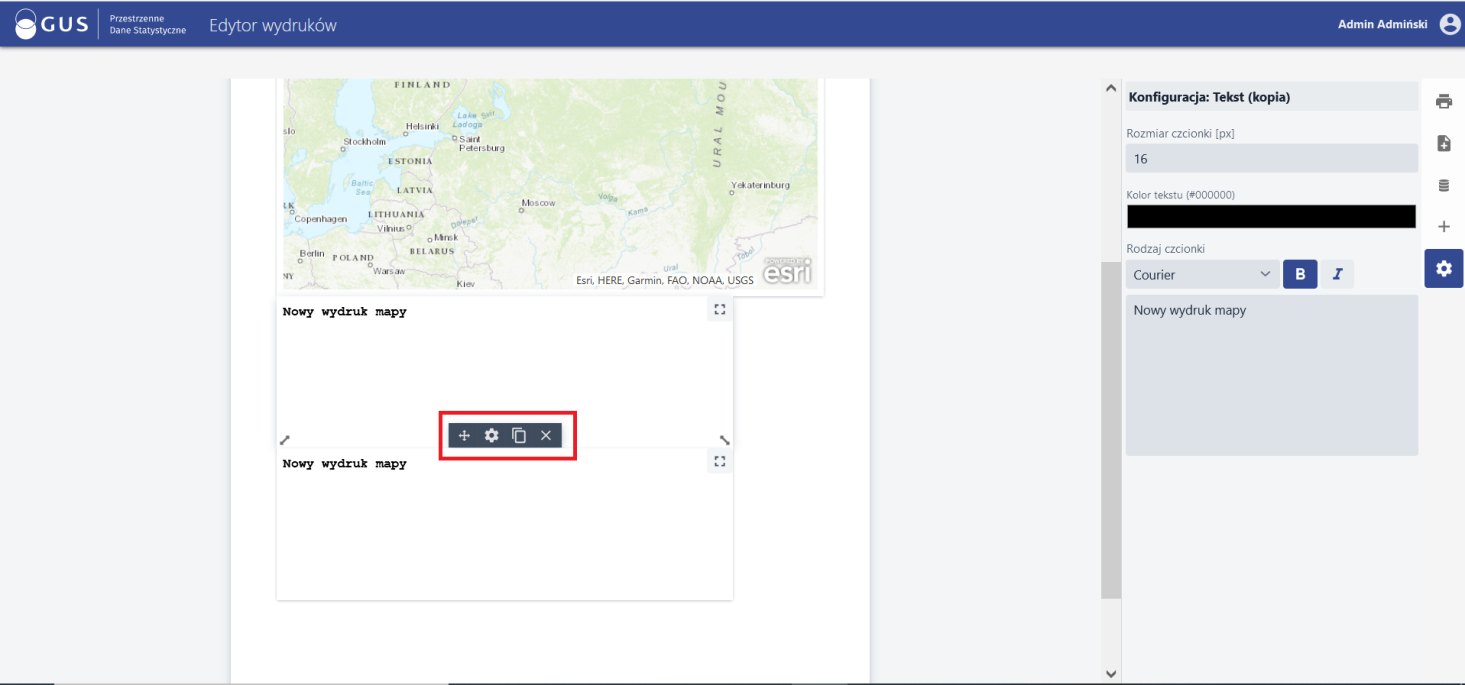
If you hover over the bottom edge of the text field, a menu appears allowing you to: Move the item (![]() ), open settings for this item (
), open settings for this item (![]() ), create a duplicate of this item (
), create a duplicate of this item (![]() ), delete this item (
), delete this item (![]() )
)
The insertion of an image is carried out in a similar way to the insertion of text described above. Clicking ( ) or dragging the element into the print field enables further configuration of this element. Insert an image by selecting a file from the disk (or dragging the image) (
 ). The user adjusts the image size by "stretching" the sides of the image field.
Studio map
Inserting the Presentation Type - {Map Studio} is done by clicking on ( )) or dragging the element into the print field. Starting the configuration of this element is done by clicking on the {Configure} or {Properties} button.
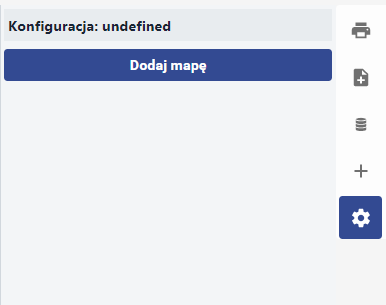
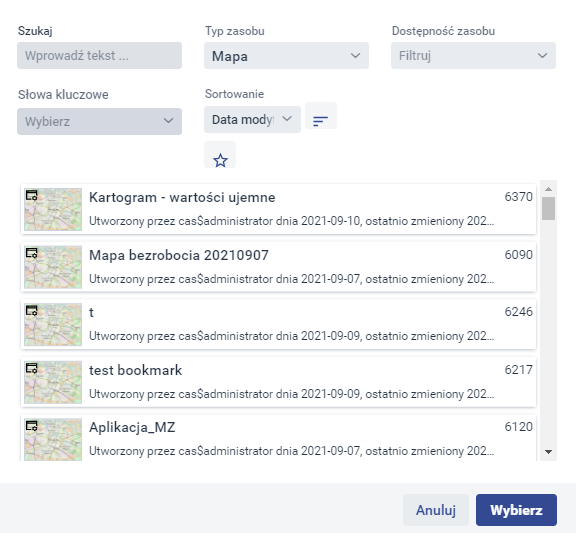
The user selects the {Add map} button. A window is displayed where the user searches for and adds a resource.
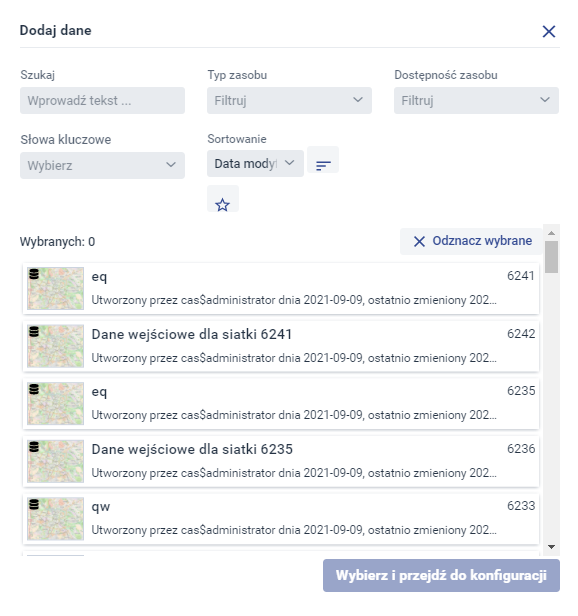
The user can indicate the resource directly in the list or search for the resource using the available filters:
 - allows to search the resource by name;
  - allows to filter by the type of resource selected from the list;
 - allows to filter by the availability of the resource selected from the list;
  - Allows to filter by the keywords of the resource selected from the list
  - Allows to filter by the resource features selected from the list; (Name, identifier, creation date, modification date);
 ![]() - allows to filter the resources marked as favourites.
- allows to filter the resources marked as favourites.
The user selects a resource by clicking with LPM on its name, and then selects the {Select} button. The indicated resource is added and displayed in the print editor.
Map Portal
Inserting the Presentation Type - {Map Portal} is done by clicking on ( ) or dragging the item into the print box. Starting the configuration of this element is done by clicking on {Configure} or {Properties}.
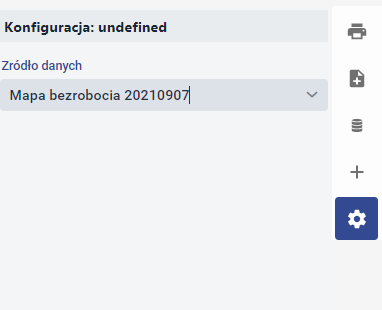
The user selects a data source from the list. NOTE: Data in the list are visible after they have been added by the user, as in section Add data source .
Legend
Inserting the Presentation Type - {Legenda} is done by clicking on ( ) or dragging the element into the print field. Starting the configuration of this element is done by clicking on {Configure} or {Properties}.
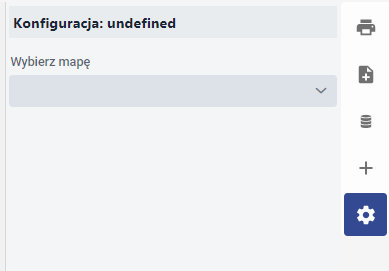
The user selects from the list the map for which the legend will be displayed in the Print Editor.
User data
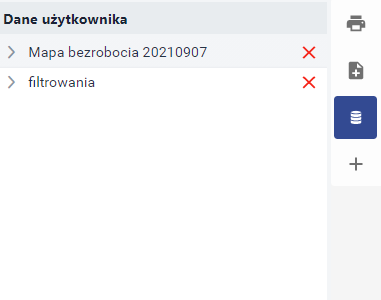
The user selects the {User data} button. A widget containing the data added by the user is displayed.
Add data source
The user in the Print Editor can add a data source. The user selects the {Add Data Source} button. A window is displayed where the user searches for and adds a resource.
The user can indicate the resource directly in the list or search for the resource using the available filters:
- allows searching for the resource by name; - allows to filter by the type of resource selected from the list; - Allows to filter by the availability of the resource selected from the list; - Allows to filter by the keywords of the resource selected from the list - Allows to filter by the resource features selected from the list; (Name, identifier, creation date, modification date); ![]() - allows to filter the resources marked as favourites.
- allows to filter the resources marked as favourites.
The user selects a resource by clicking with LPM on its name, and then selects the {Select} button. The selected resource is added and appears in the list in the User Data.